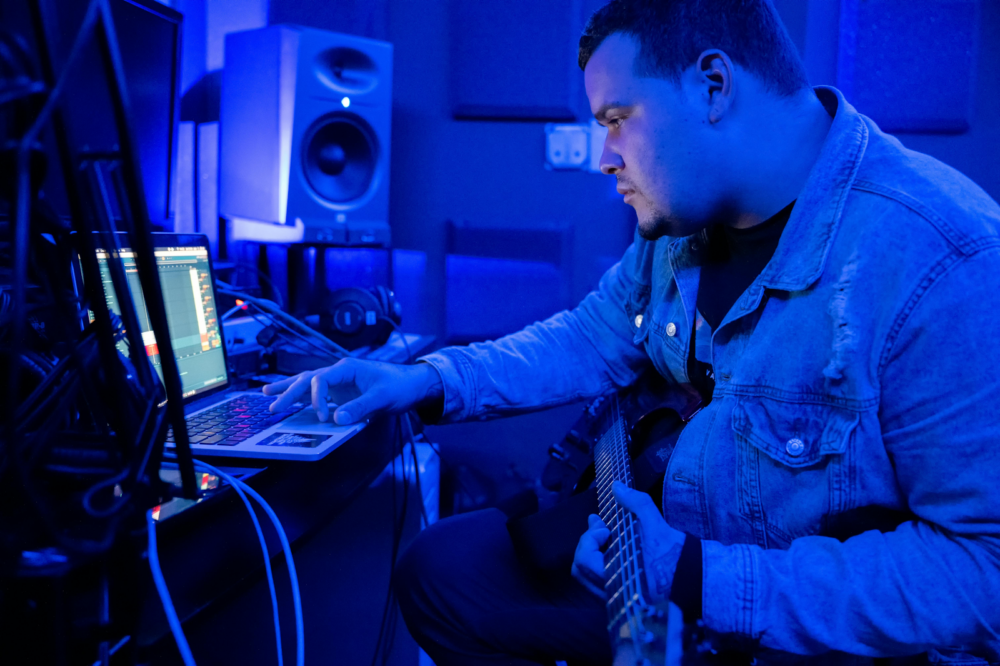
The electric guitar isn’t just an instrument; it’s an extension of the soul for many musicians. And the question that often plagues the modern-day guitar hero isn’t about that elusive chord or that slippery riff—it’s something seemingly mundane yet critically important: how do you connect your guitar to a computer?
Connecting your guitar to a computer opens a treasure trove of opportunities. You can record, mix, master, and share your music with the world. Or maybe you want to get lost in a wonderland of digital effects without disturbing your neighbors. Let’s dig into the ‘how-to’ without getting lost in the technical mumbo jumbo.
The Gateway: Audio Interfaces
When it comes to the realm of recording or jamming out with your computer, audio interfaces are the number one companion for any serious musician. This isn’t just another piece of gear—it’s your ticket to a world where your electric or acoustic guitar can truly sing through the digital landscape.
Think of an audio interface as your guitar’s personal translator and chaperone to the digital world. It takes the analog signal from your guitar’s output jack, translates it into a digital language, and transfers it via a USB port to your computer.
Choosing the Right Audio Interface
There’s a wide variety of audio interfaces out there, ranging from the size of a credit card to the size of a hardcover book, each with its own set of features. Here’s what you’ll want to consider.
Preamps: The preamps in your audio interface are crucial—they’re the first stop for your guitar’s signal. Look for interfaces with high-quality preamps to ensure your sound is captured as accurately as possible.
Connectivity: Most interfaces connect via USB, which is sufficient for most home studios. However, there are also Thunderbolt and FireWire interfaces for those looking for faster transfer rates.
Input/Output (I/O) Options: Depending on whether you’re a solo act or plan to record multiple instruments at once, you’ll need to decide how many inputs and outputs you want. For a guitarist, a single high-quality input might be all you need, but having a couple of extras gives you flexibility for miking amps or recording with friends.
Latency: This is the delay between playing a note and hearing it back. Modern interfaces come with direct monitoring, which allows you to hear your guitar in real-time, bypassing any latency introduced by the computer.
Resolution and Sample Rate: Higher resolution and sample rate options mean better sound quality. Most interfaces offer up to 24-bit resolution and 96 kHz sample rates, which is more than enough for professional-sounding recordings.

The Setup Process
1. Connecting Your Guitar: Use a standard guitar cable to plug your guitar into one of the audio interface’s input jacks. If your guitar has active electronics, ensure your interface has the appropriate power options, like phantom power.
2. Power and Data Transfer: Connect the audio interface to your computer with the USB cable. Some interfaces are bus-powered, meaning they draw power through the USB connection, while others may require an external power source.
3. Installing Drivers: While many interfaces are plug-and-play, some may require drivers. Download and install any necessary software from the manufacturer’s website to ensure full functionality and compatibility.
4. DAW Recognition: Open your Digital Audio Workstation (DAW) and go into its audio settings. Select your audio interface as both the input and output device to ensure that your guitar’s signal will be routed correctly for recording and playback.
5. Input Levels: Set the input level on your interface so that your guitar’s signal is strong but not clipping or distorting. This will often involve adjusting a gain knob while you play until the signal peaks at a healthy level.
6. Monitoring: If you want to hear yourself play with no latency, use the direct monitoring feature. This sends your guitar’s signal straight to your headphones or speakers, bypassing any potential delay from the computer.
7. Software Selection: Many audio interfaces come with a selection of starter DAWs and plug-ins, which can include amp simulators, effects, and tools for mixing and mastering.
8. Recording: With everything set up, hit the record button on your DAW and start laying down your tracks.
What To Look For in an Audio Interface
Now, what exactly should you look for in an audio interface? You want something that’s budget friendly, but don’t skimp on sound quality. Latency (that annoying delay between playing a note and hearing it) should be as minimal as possible. Look for interfaces with good preamps to ensure your input signal remains clear and robust.
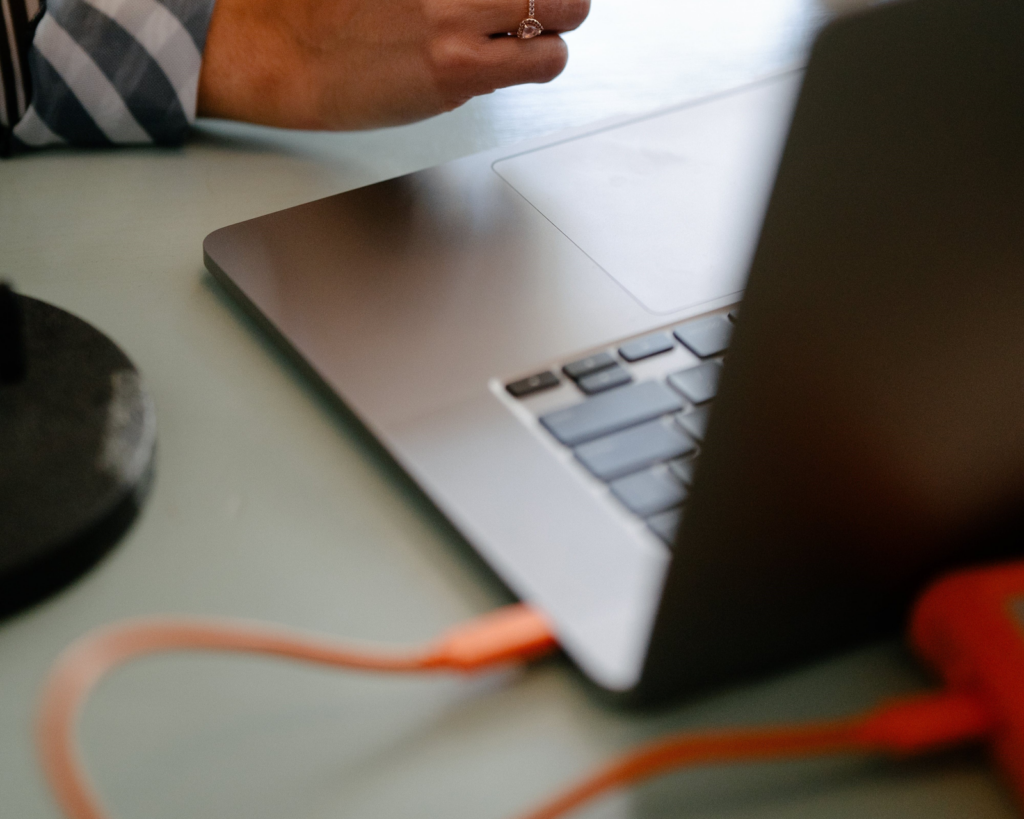
The Quick Fix: Guitar-to-USB Adaptors
In the age of instant gratification, guitar-to-USB adaptors are the unsung heroes for the plugged-in guitarist. Let’s face it – not everyone is ready to commit to an audio interface right off the bat, and for those just dipping their toes into the digital waters, a guitar-to-USB adaptor is a simple and economical lifeline.
Imagine this: a little device, no larger than a typical smartphone charger, that allows your beloved six-string to converse directly with your computer. These adaptors typically have a quarter-inch jack on one end, just like your standard guitar cable, that plugs straight into your guitar’s output jack. On the other end, a USB connector is waiting to make friends with your computer’s USB port. It’s the plug-and-play solution for the guitarist in a hurry or on a budget.
But let’s expand on what you can expect when you opt for this route:
Ease of Use: Guitar-to-USB adaptors are about as straightforward as it gets. You plug one end into your guitar and the other into your USB port, and voilà, your computer recognizes your instrument as an audio source. It’s an ideal solution for traveling musicians or those looking to capture a musical idea with minimal setup time.
Quality Considerations: While these adaptors are convenient, they’re generally not the first pick for audiophiles or audio professionals. The sound quality can vary quite a bit between different models, and they might not offer the same fidelity as a dedicated audio interface. However, for practice sessions, preliminary songwriting, or basic recording tasks, they usually do the trick.
Latency and Monitoring: One aspect to be mindful of is latency, which can be more pronounced with these adaptors than with higher-end audio interfaces. Some adaptors may offer a monitoring option to help mitigate this, allowing you to hear as you play electric guitar or acoustic guitar without delay.
Software Compatibility: Most guitar-to-USB adaptors are designed to be compatible with a wide range of recording software, but it’s always wise to check compatibility with your Digital Audio Workstation (DAW) of choice. They don’t usually require drivers, relying instead on your operating system’s standard audio drivers.
Durability: Given their compact and portable nature, these adaptors vary in build quality. Investing in a more ruggedly constructed one might save you from the perils of wear and tear, especially if you’re constantly on the move.
The Traditionalist’s Trail: Using Your Computer’s Audio Input
Before the world of audio interfaces and digital audio workstations, the pioneers of home recording would plug directly into their computer’s audio input jack. You’d need a cable with a 1/4-inch phone jack on one end for your guitar and a 1/8-inch stereo plug on the other to fit your computer’s input jack.
But tread carefully. This method is fraught with perils like poor sound quality and the dreaded latency.
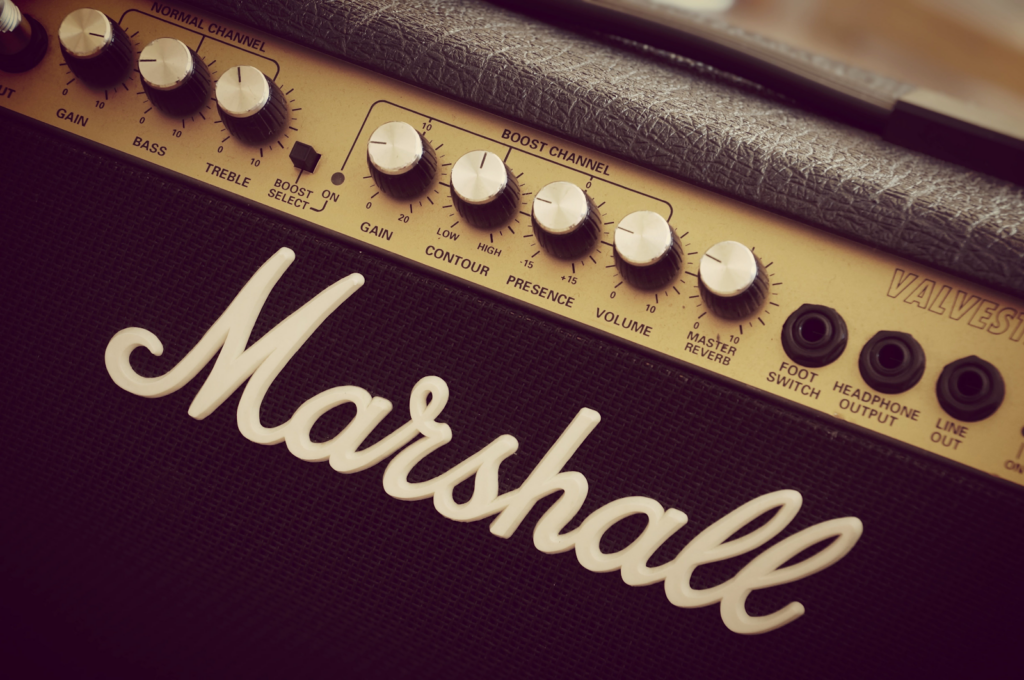
Modern Marvels: Amps with USB Ports
Living in the digital age has its perks, such as guitar amps equipped with USB ports. These clever contraptions serve as both a guitar amp and an audio interface, letting you connect directly to your computer. Not only do you get to enjoy your amp models, but you also can capture the sound output without waking up the entire neighborhood.
Diving into the DAW
Your DAW is the cockpit of your recording setup. It’s where all the magic happens. Once you’ve selected your audio interface as the input device within your DAW, you can start exploring the boundless realms of recording, editing, and mixing.
The Sonic Enhancers: Modeling Amplifiers and Multi-Effects Pedals
In our quest for the ultimate sound, modeling amplifiers, and multi-effects pedals emerge as the Swiss Army knives for the modern guitarist connecting to a computer. These devices are powerhouses, brimming with a variety of tones and effects that can send your guitar’s voice into new dimensions.
Modeling Amplifiers: A Digital Chameleon
Modeling amplifiers are your all-in-one solution, combining a traditional guitar amp with digital wizardry. They emulate the sounds of a real guitar amp, from classic tube amps, the roar of stack amps, and the subtle nuance of small combo units. With built-in effects like reverb, delay, modulation, and more, these amps morph your guitar’s signal into a myriad of sonic landscapes before it even hits your computer.
Connecting with a Modeling Amp
USB Connectivity: Many modern modeling amps come with a built-in USB port. Connect it directly to your computer, and it functions as an audio interface, bypassing the need for additional hardware.
Software Suite: Utilizing the provided software, you can delve into deep editing of amp models and effects, creating custom sounds that can be saved and recalled instantly.
Recording Direct: When connected to your computer, these amps often allow for direct recording, capturing the emulated amp sounds without the need for miking up a speaker.
Re-Amping Capabilities: Some models offer the flexibility of re-amping, where you can record a clean guitar signal and later apply different amp models and effects within your DAW.
Fine-Tuning Your Sound:
Tone Exploration: Don’t be afraid to experiment with different amps and settings. Many modeling amps provide an extensive range of adjustments that mimic the behavior of analog amps.
Software Updates: Keep your amp’s software up-to-date to take advantage of the latest models and features released by the manufacturer.
The Multi-Effects Pedal: Sound Sculpting
Multi-effects pedals are like having an entire pedalboard in a single unit. They pack a diverse array of effects, from the subtle to the outlandish, offering a palette of sounds that can be mixed and matched to your heart’s content.

Integration with Computers:
USB Out: Like modeling amps, multi-effects units typically include a USB port, allowing them to act as an audio interface. You can send your effects-laden guitar signal directly to your DAW for recording.
Editing Software: Use the accompanying software to fine-tune effects parameters with a precision that’s sometimes difficult to achieve on the pedal itself.
MIDI Control: For the tech-savvy guitarist, these pedals can often be connected via MIDI to your computer, allowing for preset changes and effect adjustments from your recording software.
Foot Control: For the performer who loves to multitask, the footswitches on the pedal can be used to start/stop recording or toggle effects while laying down a track.
Harnessing the Power:
Preset Management: Create presets for different parts of your song or different projects, ensuring you can switch between tones seamlessly.
Stereo Output: If your pedal supports stereo output, take advantage of this feature to create expansive and immersive soundscapes in your recordings.
Layering Effects: With the ability to chain multiple effects together, you can layer sounds in ways that would require multiple analog pedals, saving space and time.
Modeling amplifiers and multi-effects pedals offer a level of versatility that can be invaluable in a computer-based setup. Whether you’re recording guitar in your home studio, performing live with direct input to the PA, or silently practicing with headphones, these devices provide a multitude of sonic options at your fingertips.
With their ability to connect directly to your computer, they streamline the recording process and open up a new world of sound exploration. The key is to dive into the features they offer, understand how they integrate with your computer and DAW, and use them to craft the unique sounds that define your musical identity.
Headphones or Speakers
You’ve sent your guitar’s signal into the digital realm, applied your desired effects, and laid down a track. Now you need to hear it. Connecting headphones or speakers to your audio interface will provide you with the sound output you need for mixing or just enjoying the fruits of your labor.
Tips for Top-Notch Tone
Here’s some advice to keep your signal as pristine as a freshly-strung guitar:
- Use quality cables to prevent noise and interference and ensure the best sound quality.
- Engage the direct monitoring feature on your audio interface to reduce latency.
- Explore the use of high-quality amp simulators for a diverse palette of sounds.
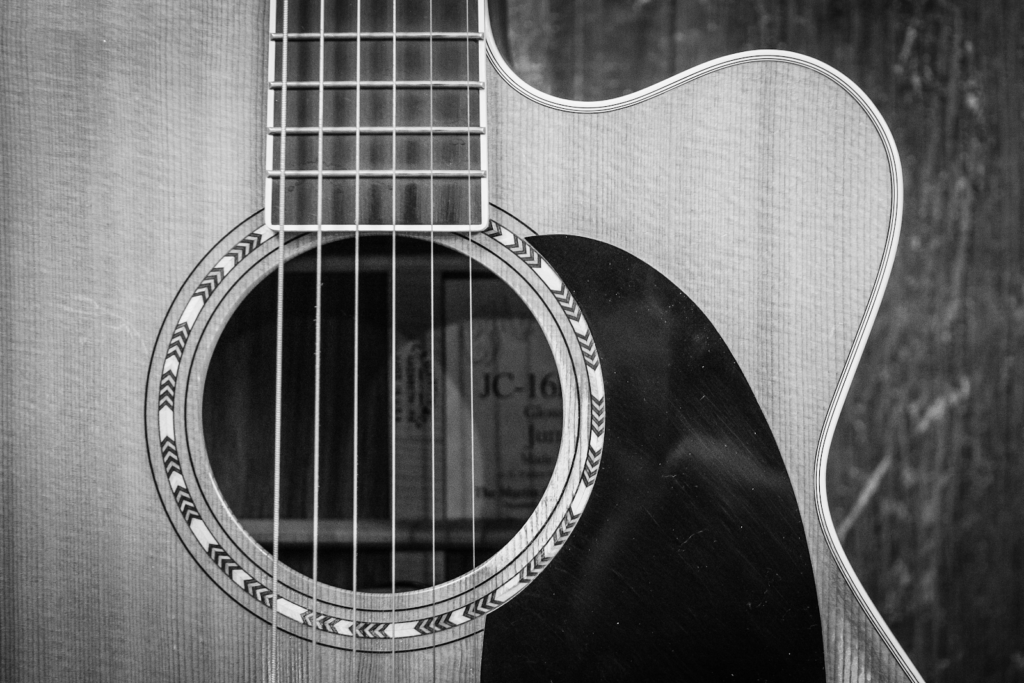
Recording Acoustic and Electro-Acoustic Guitars
Capturing the organic essence of an acoustic guitar on your computer can be a profoundly rewarding experience when done correctly. Unlike electric guitars, which often rely on amplification to define their voice, acoustic and electric acoustic guitars have a natural resonance that demands a more nuanced approach when connecting to your digital workspace.
Direct Recording with Electric Acoustic Guitars:
Electro-acoustic guitars come equipped with built-in pickups and preamps, making them primed for direct recording. Here’s how to tap into their potential:
Connect Using a Standard Guitar Cable: Plug directly into your guitar’s output jack and connect the other end to your audio interface. For electric acoustic guitars with more sophisticated preamps, ensure you’re using the correct power settings (often a battery within the guitar itself).
Adjust the Onboard Controls: Before the signal reaches your computer, take advantage of the guitar’s onboard EQ to shape your sound. Be mindful of the balance; too much tweaking can lead to an unnatural tone and poor audio quality.
Interface Input Settings: Just like with electric guitars, set the input levels on your audio interface so that the signal is clear without peaking or distortion.
DAW Selection: Choose a clean, transparent amp model or bypass amp modeling altogether in your DAW to preserve the acoustic quality of your instrument.
Effects and Plugins: Utilize subtle effects like reverb or a touch of chorus to enhance but not overwhelm the acoustic properties of your guitar.
Capturing Natural Acoustic Tones:
For pure acoustic guitars without electronic components, microphones come into play, and here’s where your audio interface’s microphone preamps are invaluable.
Microphone Choice: Condenser microphones are typically favored for their sensitivity and wide frequency response, which is perfect for capturing the intricate details of an acoustic guitar.
Placement is Key: Experiment with mic placement—near the 12th fret for a balanced sound, closer to the soundhole for more bass, or towards the bridge for a brighter tone.
Room Acoustics: The room you record in has a character that will be imprinted onto your recording. A quiet room with some natural reverb can complement your acoustic guitar beautifully.
Input Levels and Monitoring: Check the levels on your audio interface and use headphones to monitor the sound. Be wary of the gain setting on your preamp to avoid clipping while also avoiding a signal that’s too low which can introduce noise.
The Blended Approach for Electric Acoustic Guitars:
Sometimes, the direct signal from an electro-acoustic guitar can feel a bit too direct or lack the airiness of an acoustic environment. Here’s where blending techniques come in:
Dual Recording: Record the direct signal through your guitar’s pickup system while simultaneously capturing the sound with a microphone. This gives you two distinct tracks that can be blended for a full and rich sound.
Phase Consideration: Ensure that both signals are in phase. If they’re out of phase, they can cancel each other out, leading to a thin sound.
Mixing the Tracks: In your DAW, balance the two tracks to taste. The direct signal offers clarity and consistency, while the mic adds natural ambiance and depth.
Recording acoustic and electric-acoustic guitars requires a gentle touch and attention to detail. Whether you’re plugging in directly or setting up microphones, the key is to capture the true spirit of the instrument. Through careful setup and recording practices, you can produce a track that resonates with the warmth and authenticity of your acoustic performance.
Setting the Stage for Success
Before you hit record, make sure everything is set up for a seamless session:
- Check that all your drivers are updated.
- Ensure your audio interface is selected as both the input and output device.
- Test your levels to avoid peaking and distortion.
- Grab your headphones and immerse yourself in the sound.
Once you’re connected, the possibilities are endless. You can lay down tracks, experiment with virtual effects, or even stream your shredding live. Remember, the goal isn’t just to connect your guitar to the computer; it’s to unleash your creativity in ways you’ve never imagined.
Conclusion
In the age of digital enlightenment, knowing how to connect your guitar to a computer is essential. Whether you’re recording your next album, live-streaming a jam session, or simply exploring new sounds, the right setup is key. Arm yourself with a reliable audio interface, choose the connection method that suits your style, and dive into the digital waters with confidence.
Now, go forth and make your mark in the vast universe of digital music. Plug in, play on, and let the world hear what you’ve got!